Understanding Island Light Fixture Design
Lighting plays a pivotal role in enhancing the functionality and aesthetic appeal of any space, particularly in areas like kitchens where practical illumination is essential. Among the various lighting options available, the island light fixture stands out as an excellent choice for providing both ambient and task lighting over kitchen islands or dining areas. Understanding the unique design elements of these fixtures can greatly enhance your interior design projects.
Importance of Lighting in Interior Design
Lighting significantly influences the mood, functionality, and atmosphere of an environment. Within interior design, proper lighting serves several purposes:
- Enhancing Visibility: Good lighting ensures that functional areas, such as kitchens and workspaces, are well-lit for safety and efficiency.
- Creating Ambiance: Different types of lighting can create different moods, from warm and inviting to bright and energizing.
- Highlighting Features: Strategic lighting draws attention to architectural elements and decorative features, showcasing the overall design of the room.
Key Features of Island Light Fixtures
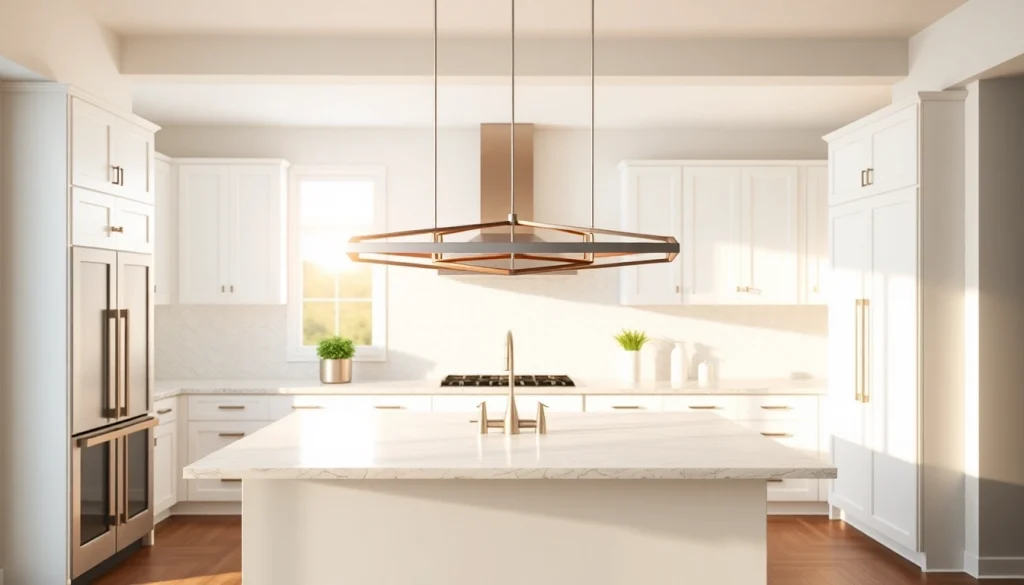
Island light fixtures are specifically designed to illuminate countertops and dining areas, featuring unique attributes that set them apart:
- Height Adjustability: Many fixtures allow for adjustment in height, accommodating various ceiling heights and personal preferences.
- Multi-Point Lighting: This fixture type often features multiple bulbs to provide ample light coverage, reducing shadows over workspaces.
- Design Versatility: Available in an array of styles ranging from modern to classic, these fixtures can complement various interior aesthetics.
Types of Island Light Fixtures Available
Diverse options exist when it comes to choosing the right island light fixture for your space. Understanding the different types can aid in making an informed decision:
- Pendant Lights: These fixtures hang down from the ceiling and can be clustered or used alone for a stylish focal point.
- Chandeliers: Offering an element of elegance, chandeliers can range from elaborate multi-tiered designs to sleek modern styles.
- Track Lighting: This adjustable lighting option allows for versatile positioning to direct light wherever it’s needed most.
Choosing the Right Island Light Fixture
Assessing Your Space and Needs
Before purchasing an island light fixture, assess the specific needs of your space. Consider factors like layout, existing décor, and the primary functions the area serves.
Is the kitchen primarily for cooking, entertaining, or both? Understanding these dynamics can influence your final choice. Take measurements of both the island and the surrounding space to ensure an ideal fit.
Size and Scale Considerations
The size of your island light fixture should be proportional to the island itself as well as the overall room. A fixture that is too small may look lost in a large space, while one that is too large may overwhelm the area.
A general guideline is to allow 30 to 36 inches of space above the countertop and to choose a fixture that occupies approximately one-third of the island’s width.
Matching Style and Aesthetic
Your island light fixture should harmonize with existing design elements in your kitchen or dining area. Consider the overall style—be it modern, traditional, or farmhouse—and select fixtures that complement rather than clash with it.
In addition, pay attention to materials and finishes. For instance, a brushed nickel finish pairs well with modern décor, while wrought iron might suit a rustic theme better.
Installation of Your Island Light Fixture
Preparation and Tools Needed
Before beginning the installation of your island light fixture, gather the necessary tools and materials. Essential items include:
- Wire strippers
- Screwdrivers (flathead and Phillips)
- Electrical tape
- Voltage tester
- Mounting hardware (typically included with the fixture)
- Ladder or sturdy step stool (if needed)
Ensure that you have a plan and understand the electrical layout of your current lighting to avoid potential hazards.
Step-by-Step Installation Process
Follow these steps for a safe and effective installation:
- Turn Off Power: Always start by turning off the power at the circuit breaker to prevent electrical shock.
- Remove Existing Fixture: If a fixture is already in place, carefully unscrew and disconnect it from the wiring.
- Connect Wires: Strip the ends of the wires as needed, then connect the corresponding wires of your new fixture (usually black to black and white to white), securing them with wire nuts.
- Attach Fixture: Secure your new fixture to the ceiling using the provided mounting hardware.
- Restore Power: Finally, turn the power back on at the circuit breaker and test your fixture to ensure it works properly.
Safety Tips and Considerations
Safety should always be a priority when dealing with electrical components. Always:
- Use a voltage tester to confirm that power is off before handling any wiring.
- Employ a partner or friend to help when installing heavy fixtures.
- Follow the manufacturer’s instructions to ensure proper use and safety compliance.
Impact of Illumination on Atmosphere
Creating Different Moods with Lighting
Effective lighting design facilitates the creation of various moods within a space. Consider how different bulb types and fixture styles produce different atmospheric effects. For instance:
- Soft White Light: Ideal for creating warm, cozy atmospheres, suitable for dining.
- Daylight LEDs: Perfect for task-oriented areas, promoting alertness and clarity.
- Dimmed Lighting: Helps to create a relaxed environment for evening gatherings.
Energy Efficiency Tips for Lighting
Choosing energy-efficient lighting solutions can lead to significant savings on energy bills. Consider using LED bulbs in your island light fixture, as they consume less energy and last much longer than traditional incandescent bulbs. Additionally, evaluate your lighting placement and consider using natural light sources whenever possible to reduce reliance on artificial lighting.
Utilizing Dimmers for Versatility
Dimmers offer excellent flexibility in managing the mood of a space. Installing a dimmer switch for your island light fixture enables you to adjust the intensity of light according to the occasion—be it an elegant dinner party or a casual breakfast.
FAQs about Island Light Fixtures
1. What size island light fixture should I choose?
Choose a fixture that is about one-third the width of your island, ensuring it’s proportional to the space for optimal light coverage.
2. How do I maintain my island light fixture?
Regularly dust your fixture and replace bulbs as needed. Check connections and clean any glass or metal surfaces to maintain appearance and functionality.
3. Can I install an island light fixture myself?
Yes, if you have basic electrical knowledge. Always ensure safety by turning off power at the circuit breaker, and follow manufacturer instructions.
4. What styles of island light fixture are trending?
Current trends include industrial-style pendants, minimalist designs, and fixtures that incorporate natural materials for a cozy, modern feel.
5. How does lighting affect kitchen functionality?
Well-placed lighting enhances visibility for cooking and food preparation, reduces accidents, and can influence the overall mood and efficiency of the kitchen space.